How to install a travel eSIM on iPhone and Android
How to install a travel eSIM on iPhone and Android before you fly, where the settings live, turning on data roaming, and what to do when the QR won't scan.
5 min read
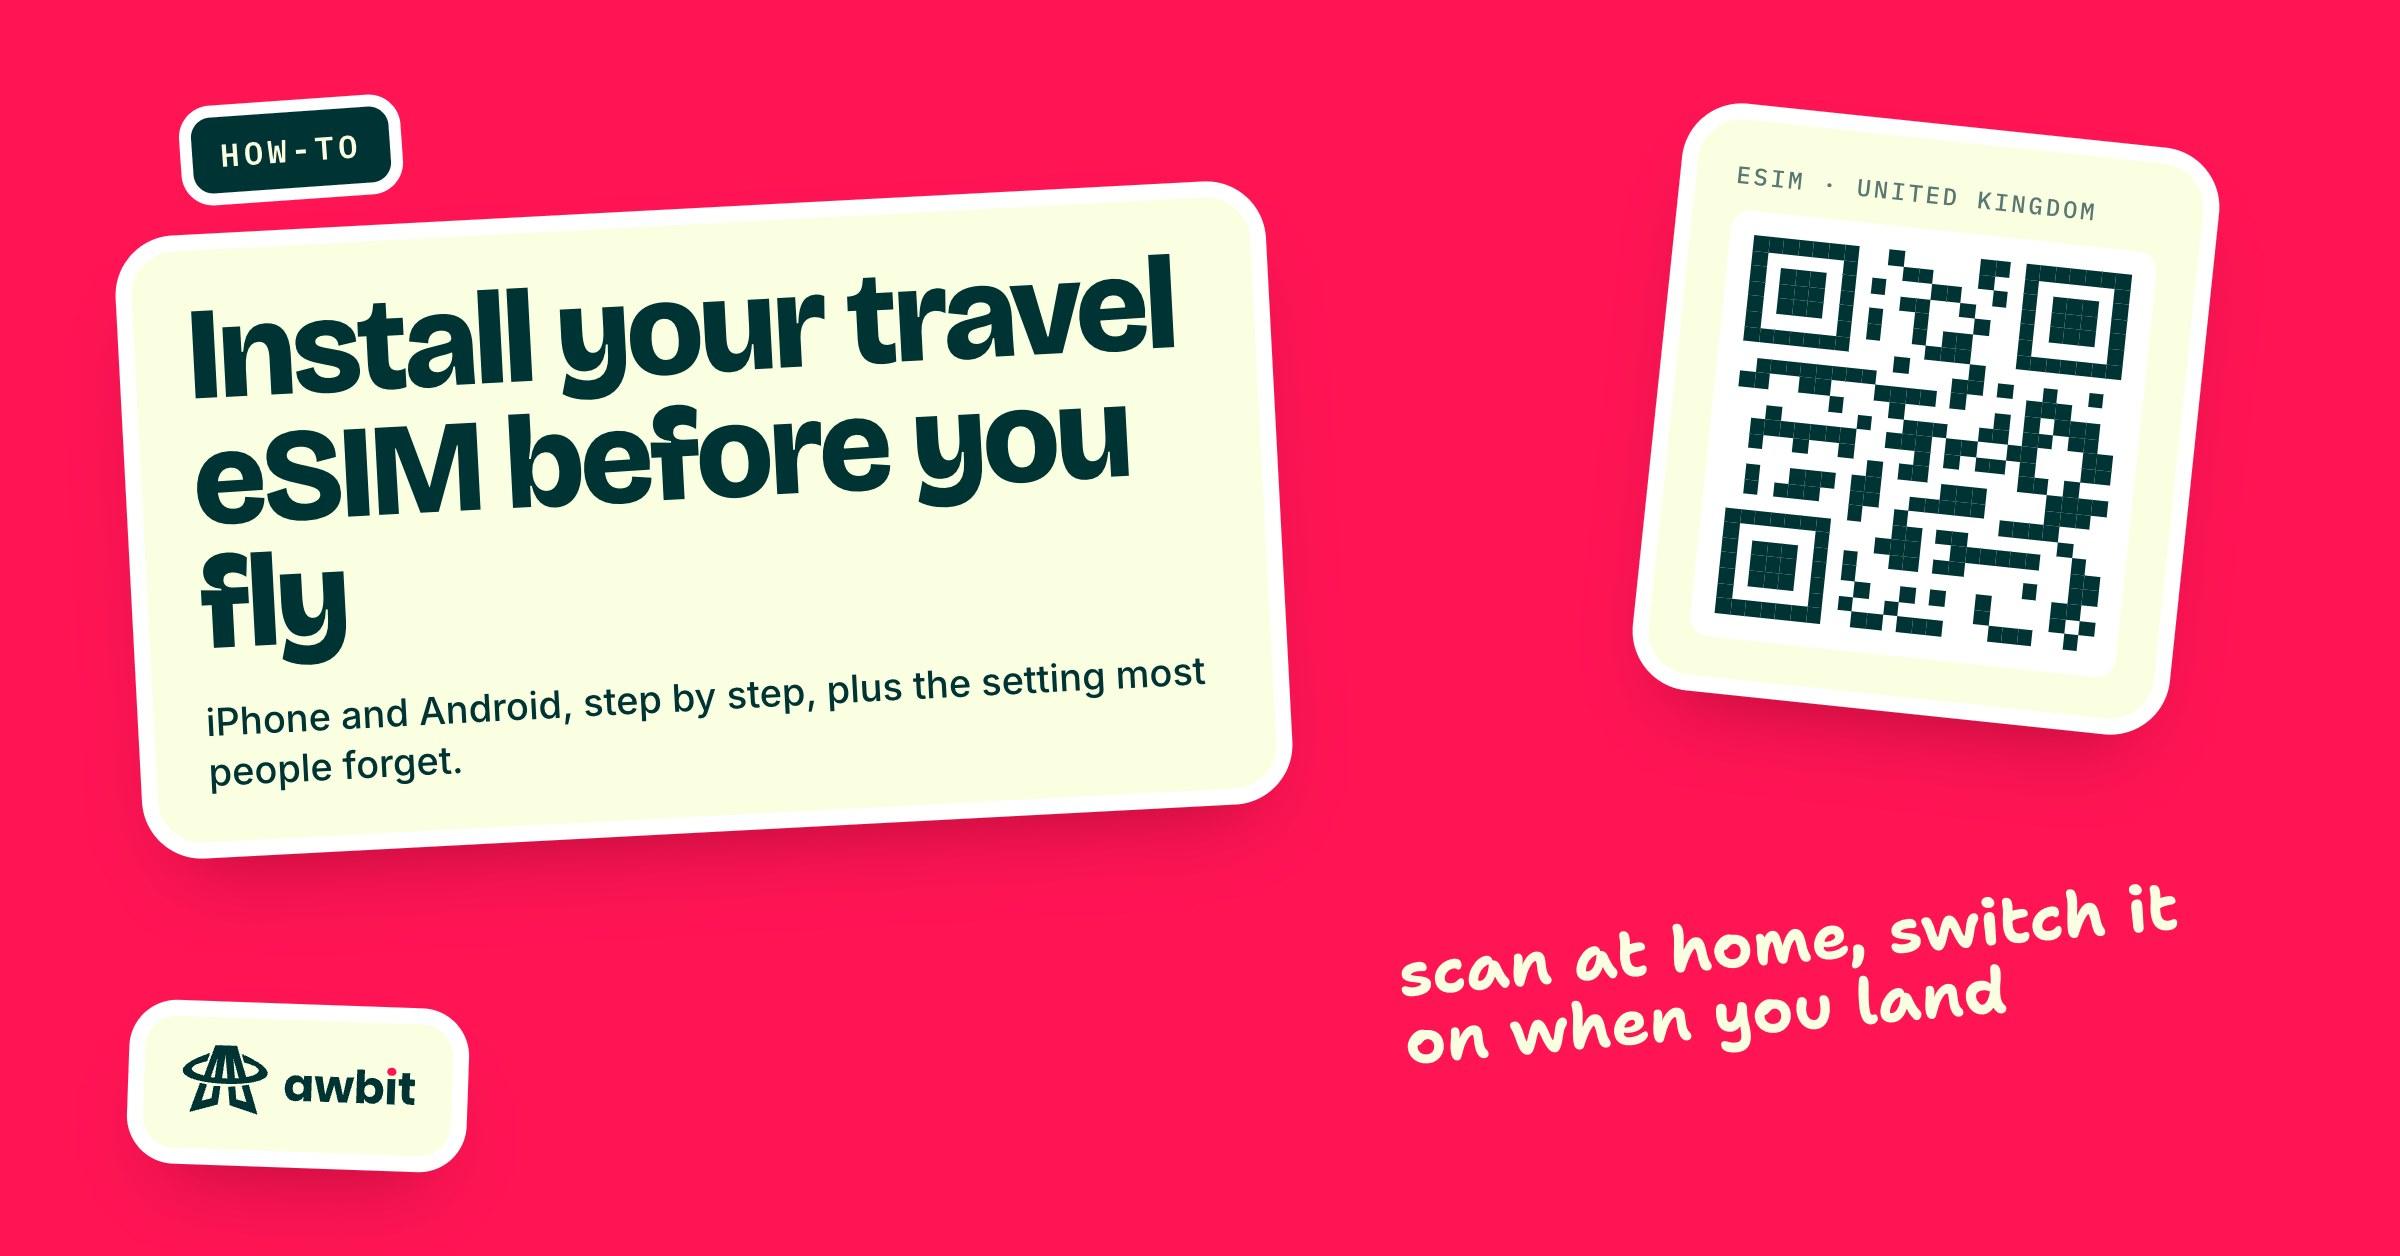
The worst place to install an eSIM is the arrival hall, on airport Wi-Fi that wants your email address before it lets you in. Do it at home the night before. The phone needs an internet connection to download the eSIM profile, and on most Awbit plans installing early costs you nothing, because the clock starts when the eSIM first connects at your destination. Each plan's page states its exact validity rules. Read yours before you scan.
What to sort out at home
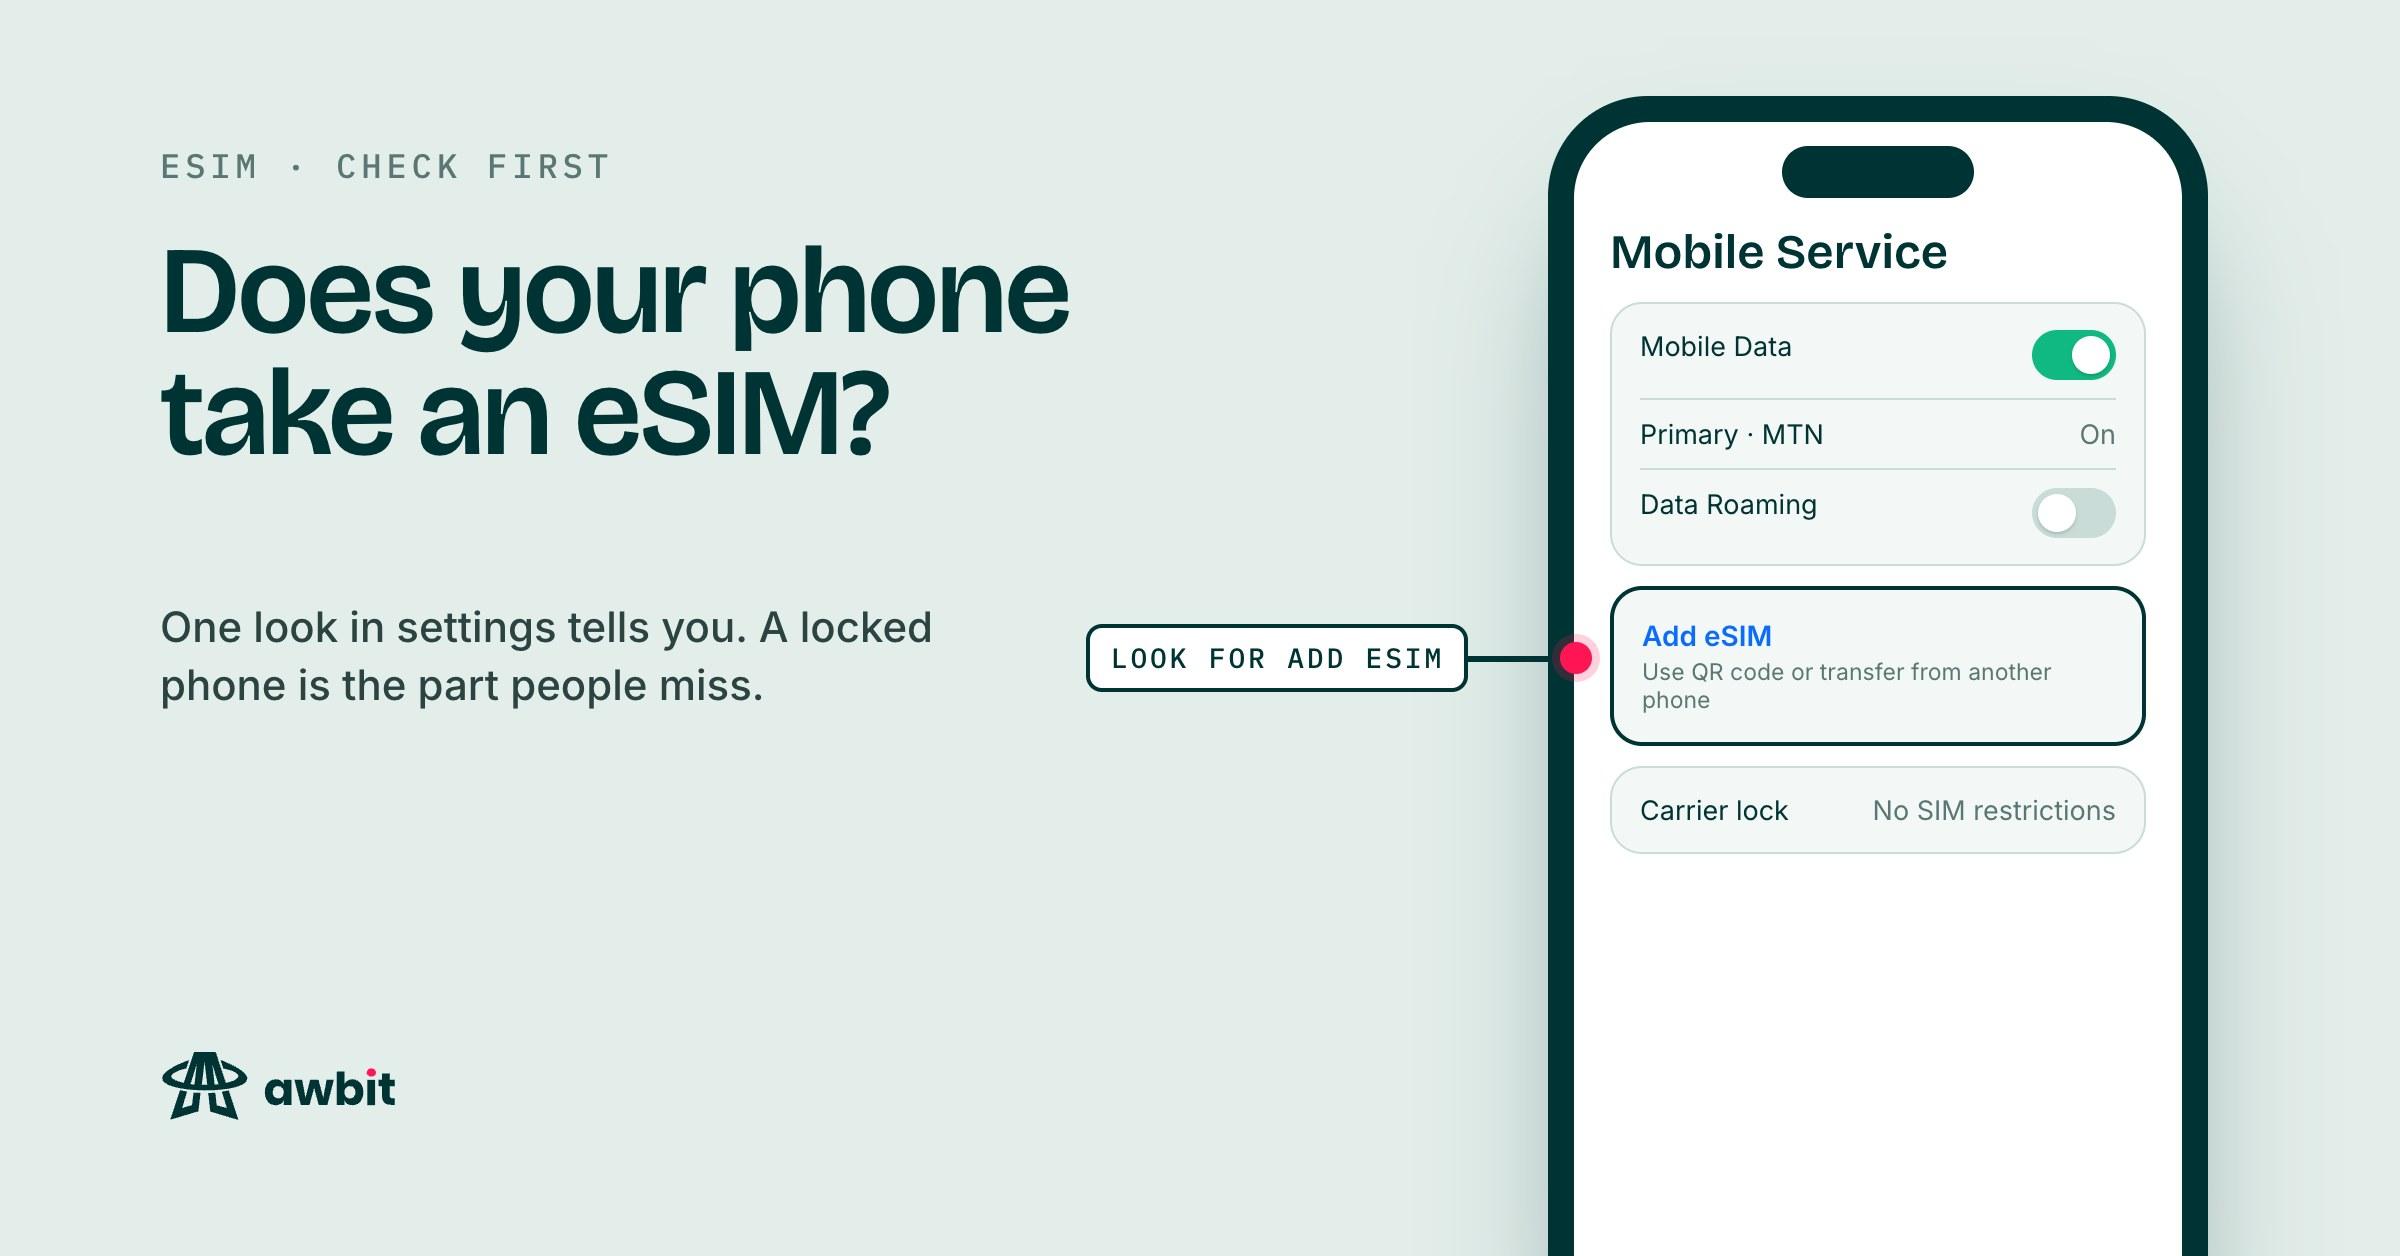
- Confirm the phone supports eSIM and isn't locked to a carrier. On iPhone, Settings > General > About should say No SIM Restrictions next to Carrier Lock.
- Connect to Wi-Fi.
- Open the QR code on a second screen. A phone camera can't scan its own screen. Put the order page up on a laptop or someone else's phone. On an iPhone running iOS 17.4 or later there's a way round this: tap and hold the QR code in the browser, then tap Add eSIM.
- Leave your Nigerian SIM where it is. The eSIM goes in alongside it.
iPhone
- Open Settings > Cellular and tap Add eSIM. If the phone is set to UK English it may say Mobile Service in place of Cellular, and older iOS versions call the button Add Cellular Plan.
- Tap Use QR Code and point the camera at the code on the other screen.
- Follow the prompts until iOS asks you to label the new line. Pick one from the list or type your own. "UK data" is easier to recognise at 6am in a taxi than "Secondary".
- When iOS asks about your default line, keep the Nigerian line for calls and iMessage.
- When it asks which line to use for Cellular Data, keep the Nigerian line for now. If you choose the eSIM while you're still in Lagos, the phone has no mobile data until you land. Leave Allow Cellular Data Switching off.
- Go back to Settings > Cellular, tap the new line and switch off Turn On This Line. It waits there, installed, until you need it.
On a Samsung Galaxy
Open Settings > Connections > SIM manager, tap Add eSIM, then choose to scan a QR code from your service provider. The wording moves around between One UI versions. Older phones say SIM card manager, then Add mobile plan, then Add using QR code.
Once it installs, tap the eSIM in SIM manager to give it a name you'll recognise. On the same screen, leave Mobile data set to your Nigerian SIM until you land, and turn the eSIM's switch off.
Pixel and other Android phones
On a Pixel, go to Settings > Network & internet > SIMs and tap Add SIM (a plus sign on some versions). Tap Download a SIM instead?, then Next, and scan the code. Afterwards, tap the eSIM in the SIMs list to rename it, and keep Mobile data on your Nigerian SIM for now.
Pixel age matters here. Google lists the Pixel 3a and later as able to run a physical SIM and an eSIM at the same time. A Pixel 3 has eSIM, but it can't keep your Nigerian line active alongside it.
Other Android brands put eSIM in different places. Type "eSIM" into the search bar at the top of Settings and it usually takes you straight there.
When the QR won't scan
Glare or a code shown too small can stop a scan. Under the install steps on your order page are manual-entry details for this. They're usually an SM-DP+ address and an activation code. Copy and paste them; they're case-sensitive, and one wrong character fails the install.
On iPhone, the manual route is Settings > Cellular > Add eSIM > Use QR Code, then Enter Details Manually at the bottom of the scanner. Samsung offers an activation-code option on the same Add eSIM screen as the scanner. On a Pixel, tap Need help? on the scan screen and then Enter it manually.
If manual entry fails as well, support will walk you through it. A provision that fails and never activates is refunded to your Awbit wallet.
Landing day
Do this before you go looking for a taxi.
- Turn the eSIM line on.
- Make it the mobile data line.
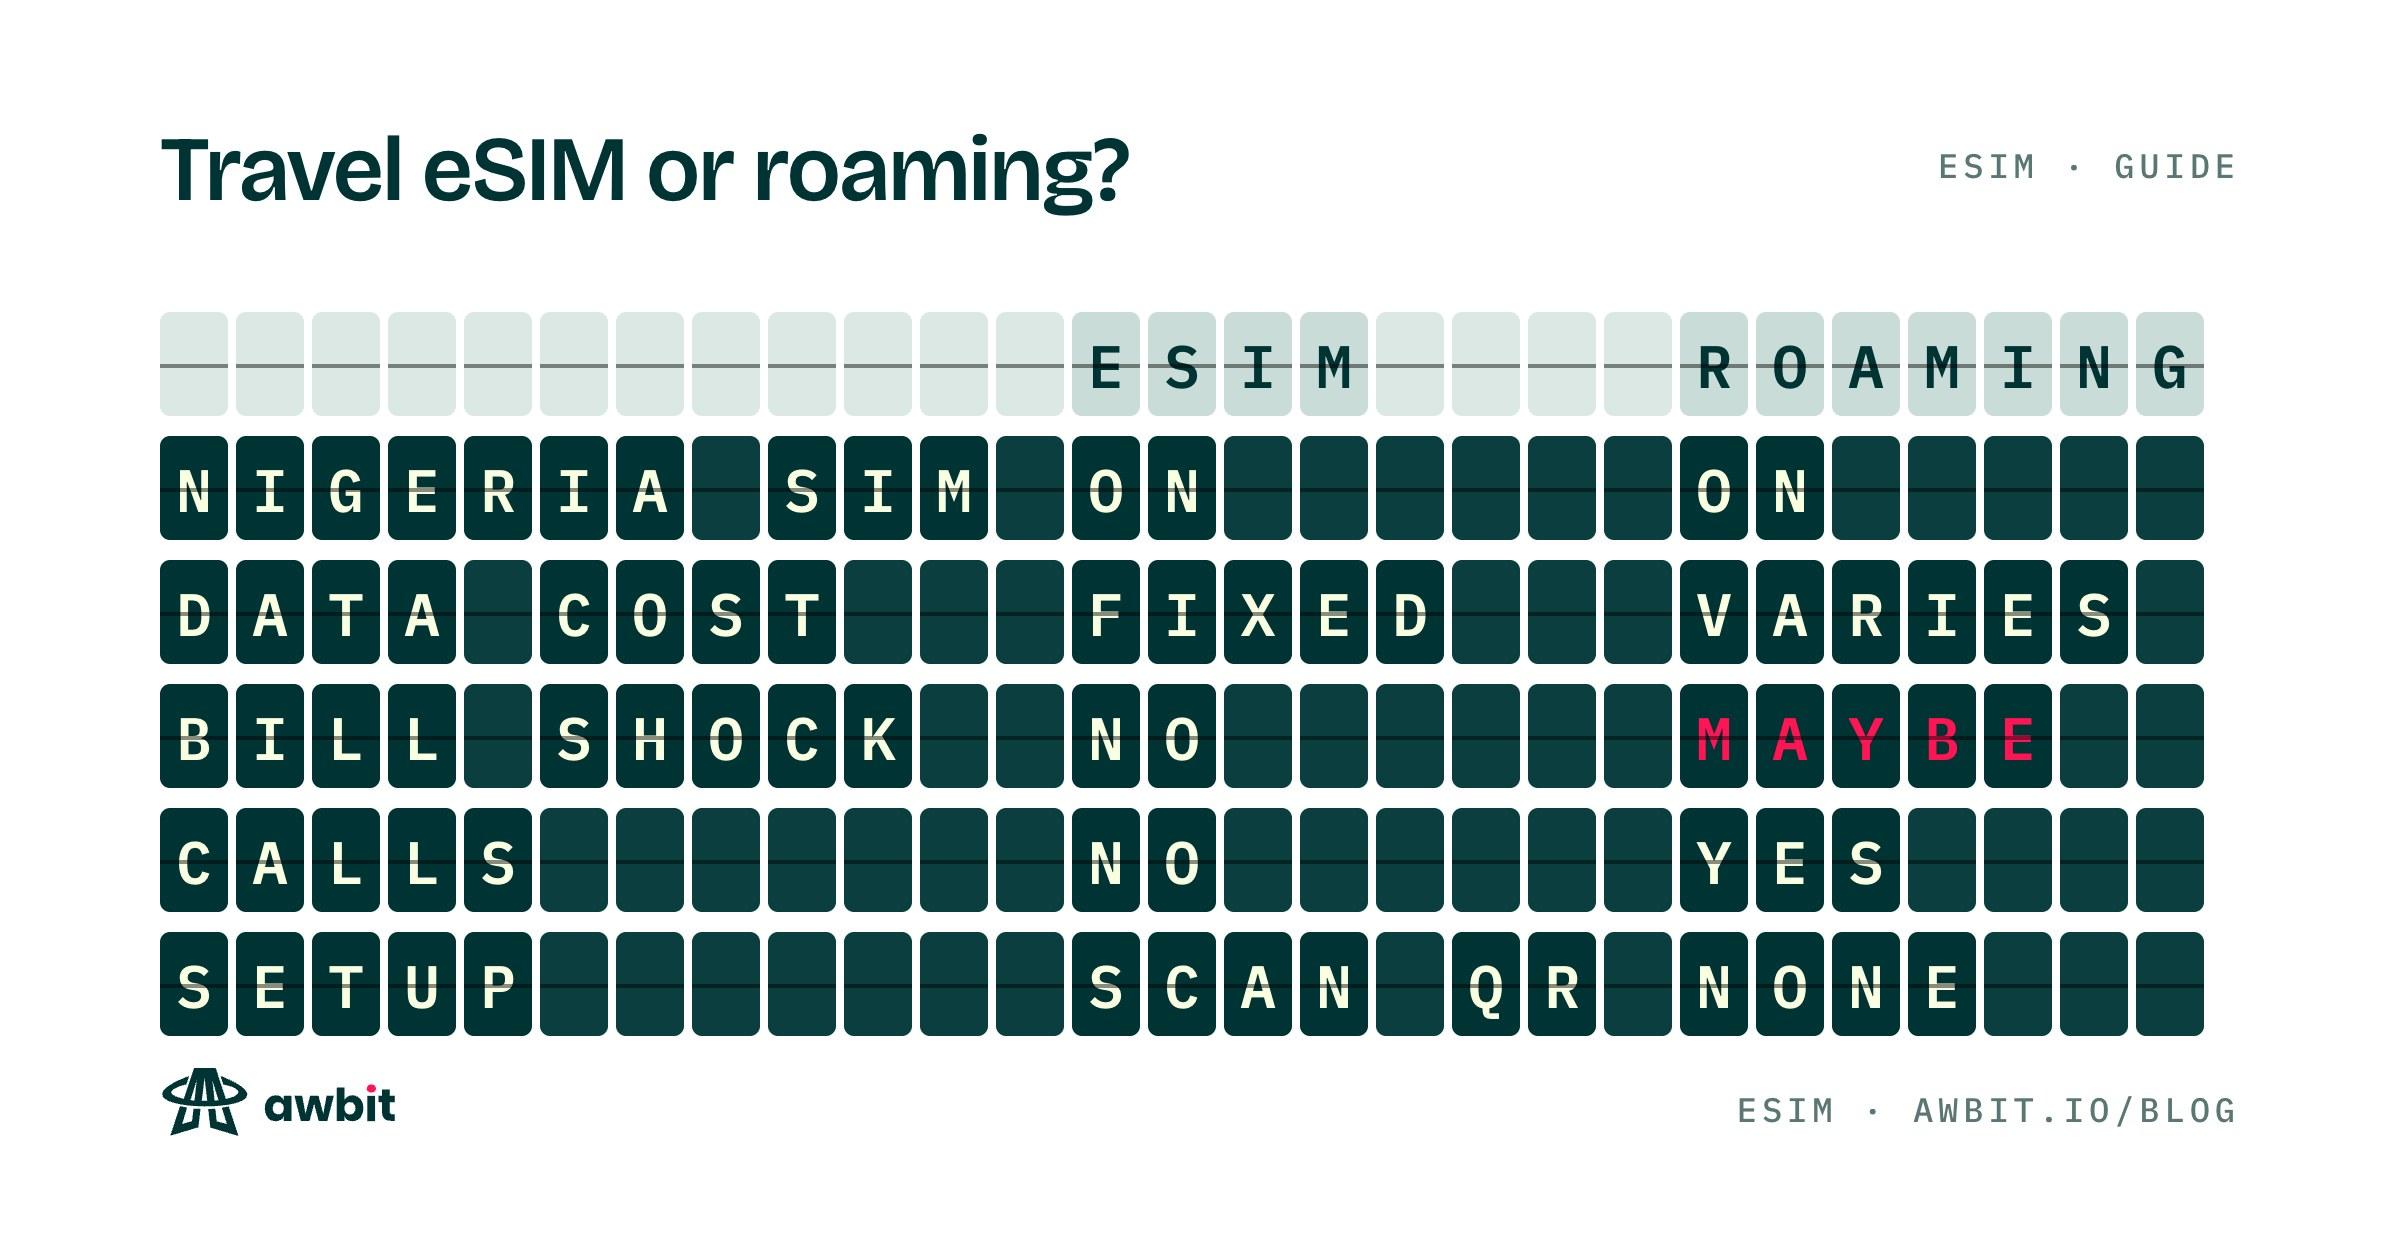
- Turn on data roaming for the eSIM line. Most travel eSIMs connect as a guest on a local network, and the phone counts that as roaming. Without the switch you get signal bars and no data. On iPhone it's under Settings > Cellular, tap the eSIM line, then Data Roaming (some iOS versions put it inside Cellular Data Options). On Samsung it's Settings > Connections > Mobile networks > Data roaming, choosing the eSIM if the screen asks. On a Pixel it's Settings > Network & internet > SIMs, tap the eSIM, then Roaming.
- Turn data roaming off for the Nigerian line and keep that line switched on for calls and bank texts. Those texts only arrive if your Nigerian network has roaming active on the line, which is a question to ask them before you fly.
If the install steps on your order page say something different for your plan, follow those. And if you plan to hotspot a laptop, check the plan page first. A few plans block it.
Don't delete it on the way home
When the trip is over, switch the eSIM line off and leave the profile where it is. Most travel eSIM QR codes install once. Delete the profile and the same QR code usually won't install it a second time. People who fly the same routes every year keep a plan installed for each destination and turn on the one they need.
Awbit refunds a provision that fails and never activates. An eSIM that worked and was then deleted isn't one of those.